Getting-started checklist
The checklist above the inbox that makes sure the organisation is fully up and running. What it contains and how to hide it.
Updated 02.09.2026
Table of contents
Above the message list, a new organisation sees the Getting started panel. There's nothing to tick off manually — the list is worked out automatically from what has already happened in the organisation.
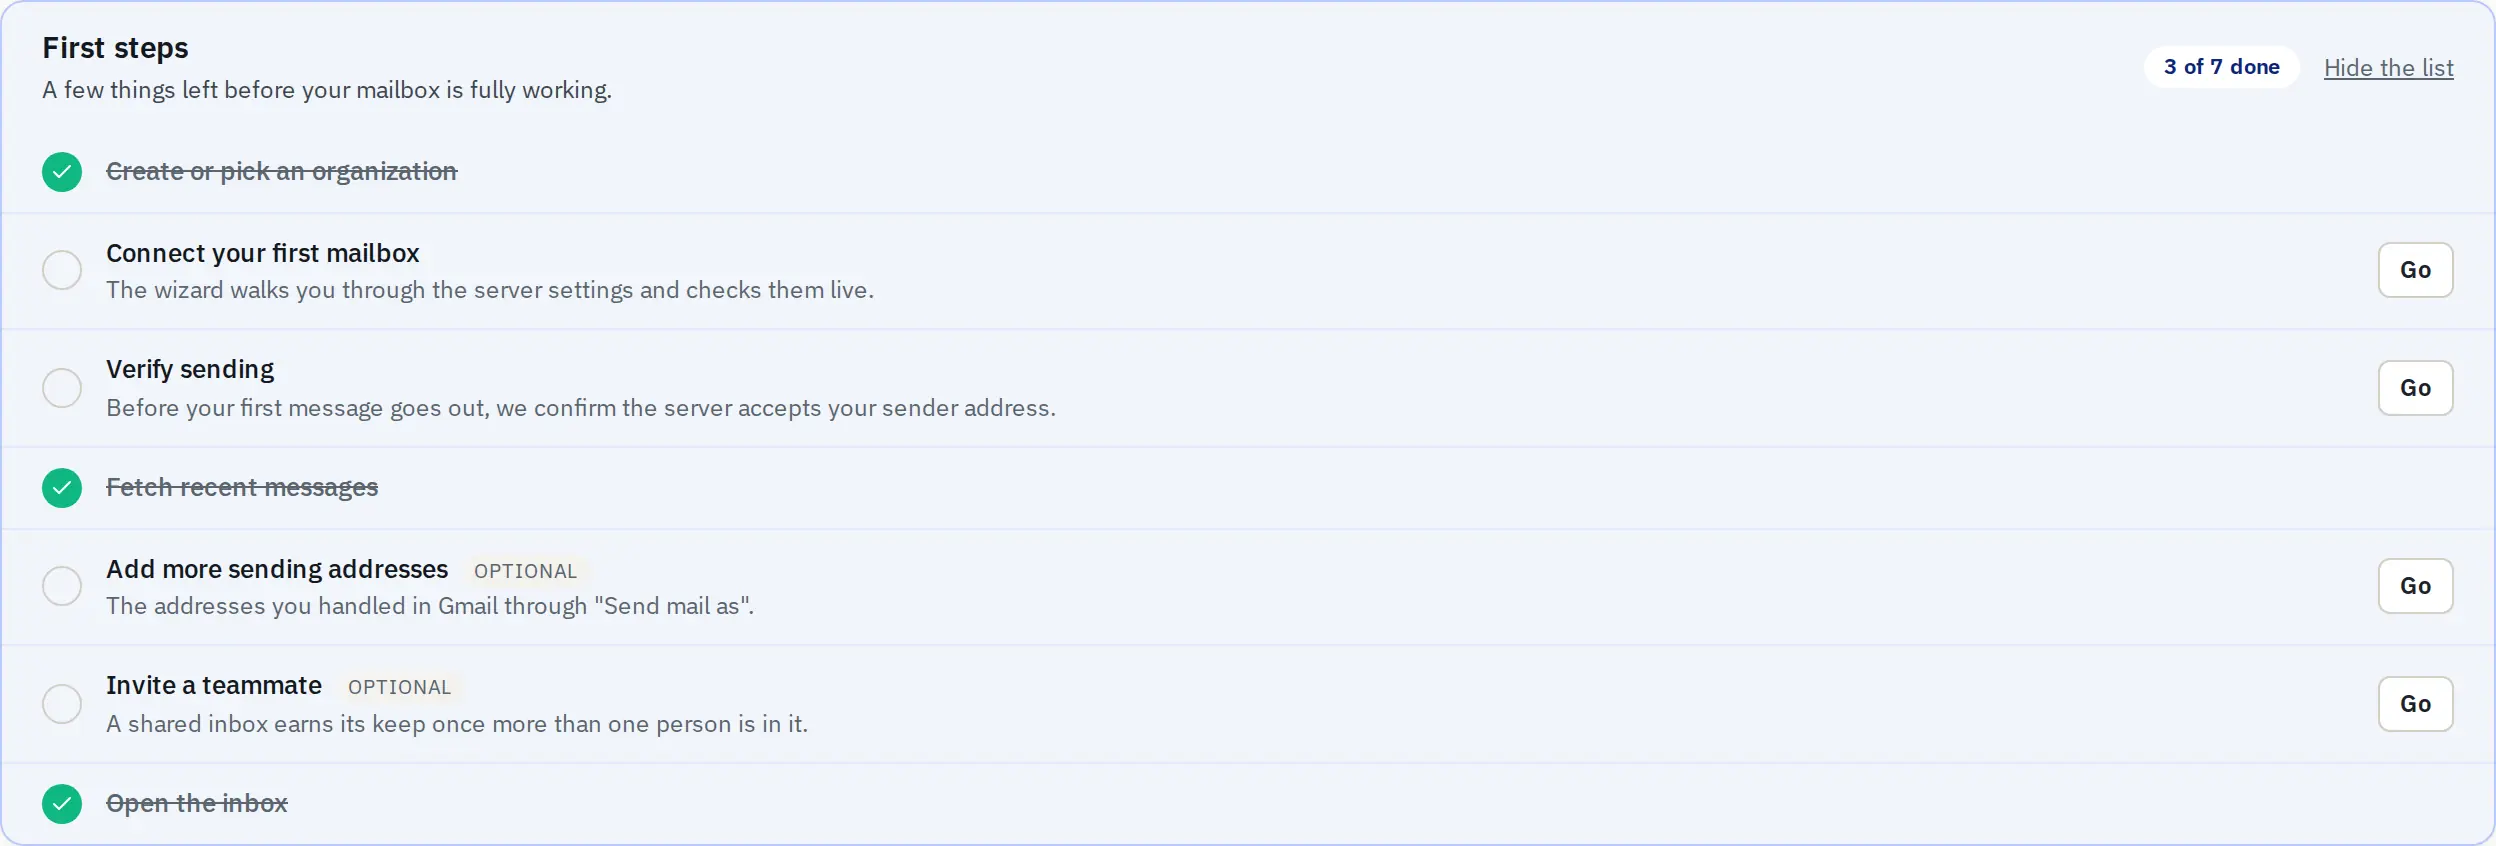
Steps
| Step | When it counts as done |
|---|---|
| Create or choose an organisation | Always counted as done after registration — the organisation is created automatically. |
| Connect your first mailbox | The organisation has at least one mail account. |
| Check sending | The outgoing server accepted the sender address in the connection test. |
| Fetch recent messages | The first sync has finished. |
| Add another sender identity (optional) | A sender identity other than the mailbox address has been added. |
| Invite a colleague (optional) | At least one invitation has been sent. |
| Open the inbox | The inbox view has been opened with a connected account. |
Every step has a Go button that takes you to the right screen; optional steps can be Skipped.
Hiding and restoring
Hide list hides the panel for the whole organisation. Once every required step is done, the panel closes itself with an "All done" message. Bring it back with the Show the getting-started list link in settings.
Did not find the answer?
Check the help section with typical problems or write to us — we reply on working days.